Last updated on September 30th, 2021 at 10:16 am
Coming after Rosh Hashana and Yom Kippur, Sukkot is a holiday that a lot of people outside of the Jewish community have never heard of. But it is one of my favorites! It has so many physical symbols and so many ways to participate, as well as combining crafting and (sort of) camping.
On Sukkot, we remember our Jewish ancestors traveling in the desert for 40 years by building a temporary shelter called a sukkah (say “SUE-kah”), or sukkot (“Sue-KOHT”) for plural. There are specific guidelines as to the number of walls and the type of ceiling, but you can go pretty crazy within those guidelines (Google “The Sukkah Project”). Families will decorate their sukkah with fruit and vegetables, construction paper chains, and sometimes fun string lights.
We are supposed to spend as much time in the sukkah as possible even if it is cold and rainy, eating all of our meals there, and some people also sleep there. It is a mitzvah (good deed / commandment) to welcome people into your sukkah, as we are supposed to remember the way our ancestors Abraham and Sarah always welcomed people into their tent.
This year, my twins are old enough to start making sukkah decorations! I am so excited. This project can be easily adapted for many holiday and decorating opportunities involving fall colors and produce — just use your imagination! I have to admit my expectations were a little high, so although I successfully did this project with 2-year-olds — it might be a little easier with older kids.
Tinfoil & Tape* Sukkah Decorations
Supplies:
- Roll of tinfoil
- Lots of masking tape, any size
- Non-toxic Craft Paint
- Sponges / paint brushes
- Newspaper or something to put down to contain the mess
- Paper plates for paint palettes
- Scissors
- Twisty ties
- “Mod Podge”
Making the forms (prep ahead optional)
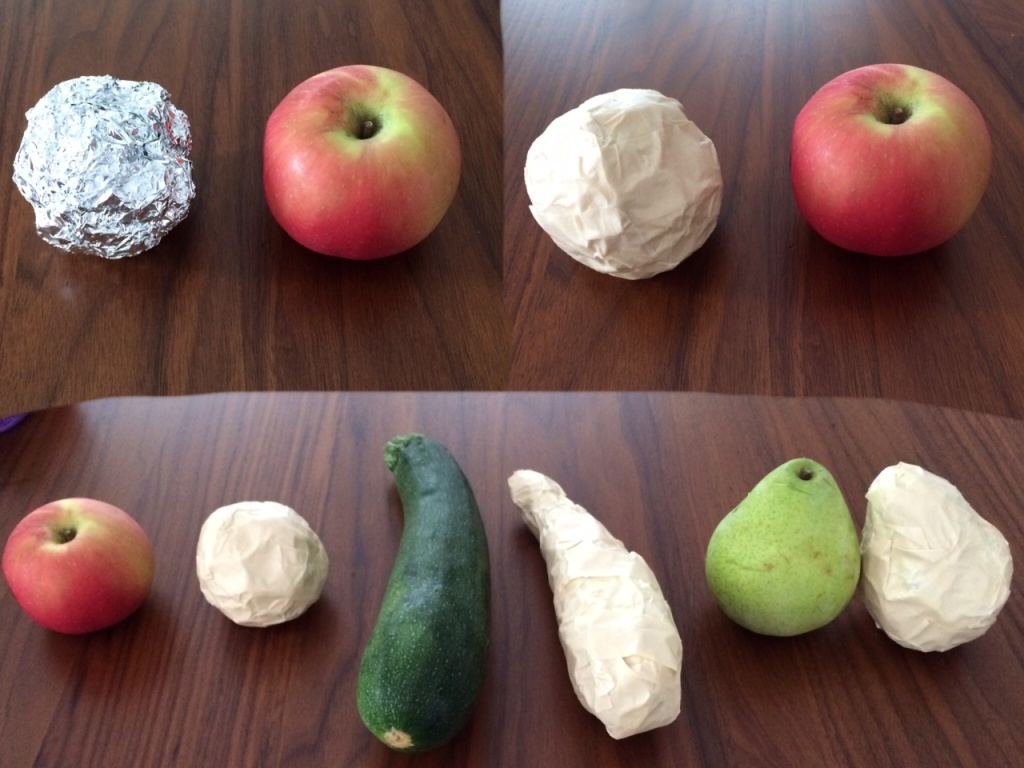 The first step is to use tinfoil and tape to make fake fruits and vegetables. If you are working with younger kids, I suggest making the fruit and vegetable forms in advance so they are only going to be doing the painting. If you are working with kids over 4, you may be able to have them make their own shapes. (Shortcut! If you are working with older kids, try using colorful duct tape instead of painting!)
The easiest shape is an apple. Make a ball of tinfoil. Wrap it in the tape. You now have an apple.
Attach a twist tie with tape so that it makes a loop you can use from which to hang your beautiful apple. You can get more complicated, making pears or other fruit shapes simply by smushing the tinfoil together to somewhat resemble the fruit or vegetable you want to create. For my project, I made two apples, two pears, and two squash.
Painting the forms
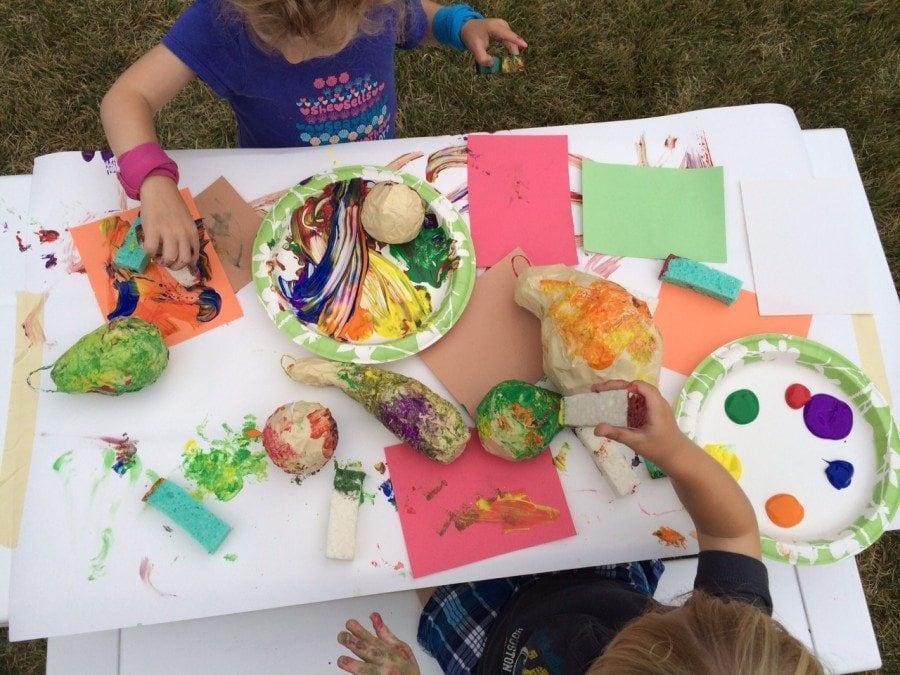
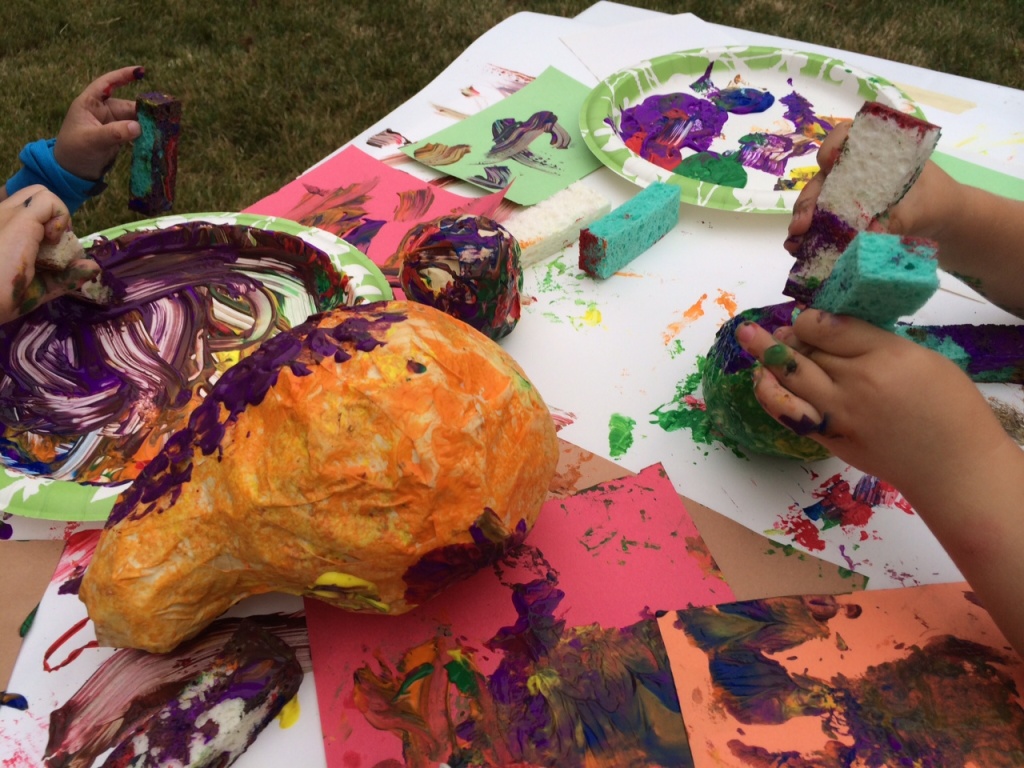 Have the kids paint the shapes. I recommend being actively involved in the painting process. I only used sponges, and I painted an undercoat of a recognizable color (green for pears, red for apples, green and orange for squash) and had the kids paint over it however they wanted.
Set aside to dry overnight.
If you are planning to hang your pieces outside: Once everything is dry, coat it in the Mod Podge (it is a paint-like substance that can seal and protect it from water, you can find it at any craft or art supply store). Bonus: I also covered the painty scrap paper in Mod Podge and cut it up to make colorful paper chains.
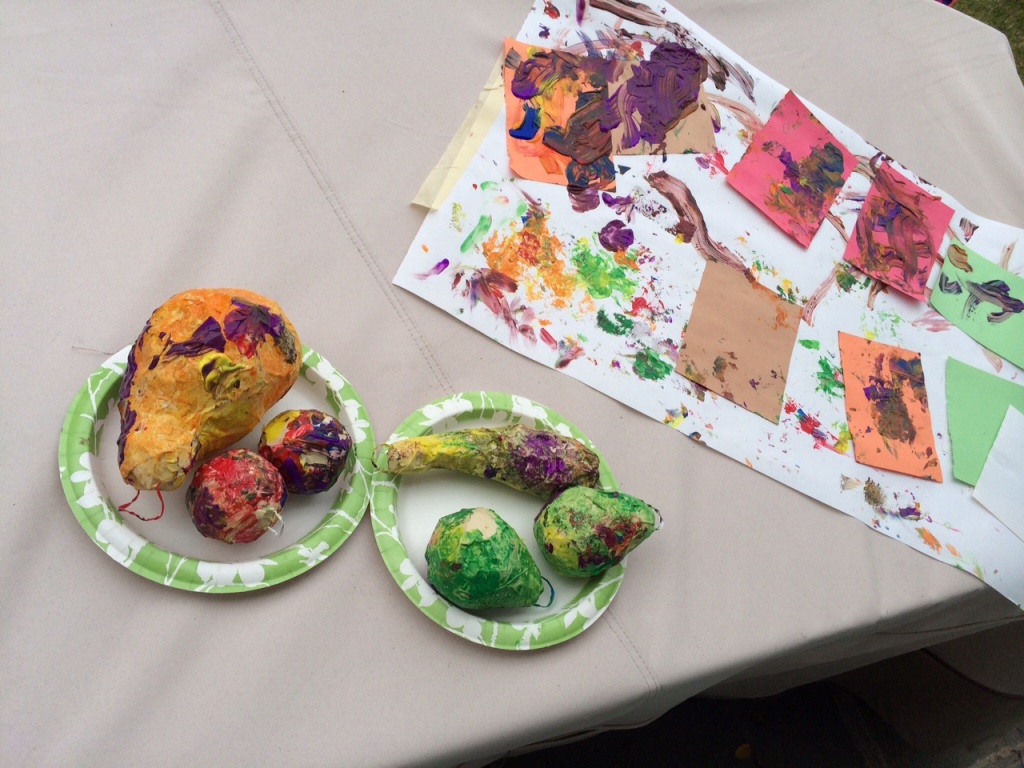
Set aside to dry overnight, then hang it up and enjoy! If you don’t celebrate Sukkot but still want to get in on the fun, create the fruit and vegetable crafts and display them on your mantle, hang them from your front door, or use them as toys in a play kitchen (make sure to use non-toxic paint.)
* Tinfoil & tape technique credit: Don Seiden
 Robin Sheldon is an artist and therapist, currently staying at home full time with her toddler twins and two cats while her husband hunts and gathers. She recently moved from city to suburb and what a transition it has been!
