Last updated on May 20th, 2024 at 01:36 pm
Halloween is right around the corner! Tis the season of pumpkin patches, costume shopping, and baking/eating pumpkin everything! Even though this is the beginning of the busy holiday season, I love slowing down with my kiddos to bake and craft during this time of the year. These are the things I want them to remember about the holiday season at home when they are older.
What better way to get into the Halloween spirit than some DIY kid-friendly Halloween decorations? All of these decoration ideas are simple enough for toddlers to do (with some assistance) and are the perfect mix of festive for the season without being too scary. Plus, almost all of the supplies you probably already have at home!
A few quick tips for doing crafts with your children:
- Choose age-appropriate crafts! Toddlers will lose interest quickly if all the steps are so complicated that they are unable to do anything themselves.
- Have everything prepared ahead of time. Little kids have short attention spans so have all your supplies laid out and shapes cut out before you begin.
- If there are adults-only steps (like cutting the milk jugs in the luminaries) have a coloring page for them to work on or another step they can do while they wait.
- Let go of perfection! In the end, it doesn’t matter if they do the craft ‘correctly’ – it’s just for the fun and memories!
- Let them display their projects for all to see! Encourage their creativity!
4 Halloween DIY Decorations for Kids
1. Spider Web Plates
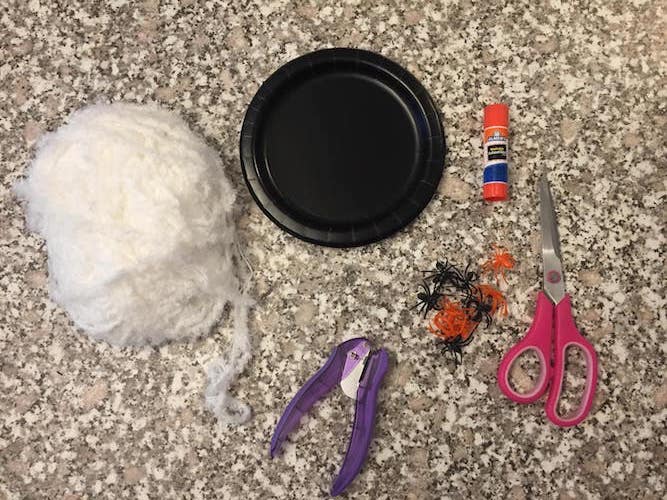
You’ll need:
- Small black paper plates
- White yarn/string (we used a fluffy white yarn to create a more spooky effect)
- Plastic spider rings
- Hole punch
- Glue
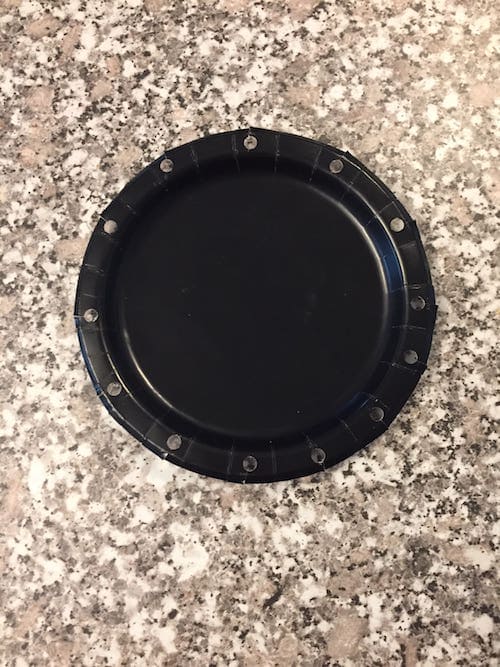
1. Punch holes around the edge of the plates. Cut slits from the edge of the plate to every hole except one.
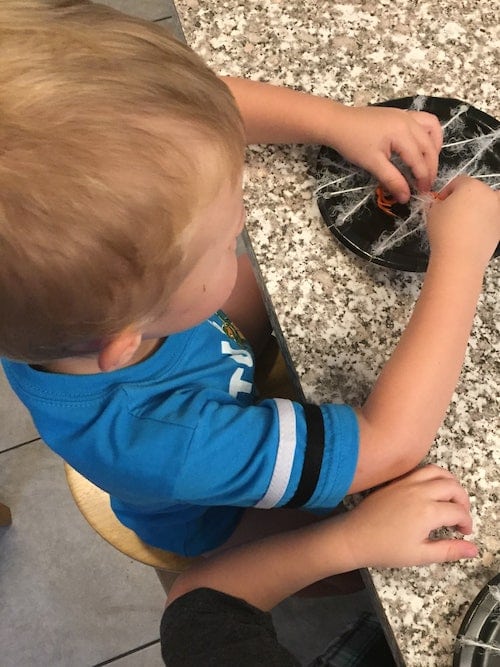
2. Cut a piece of yarn of your desired length. A longer piece will allow you to wrap it more times and make for a more ‘webby’ look. Then, feed one side of the yarn through the hole you did not cut and tie it in a knot.
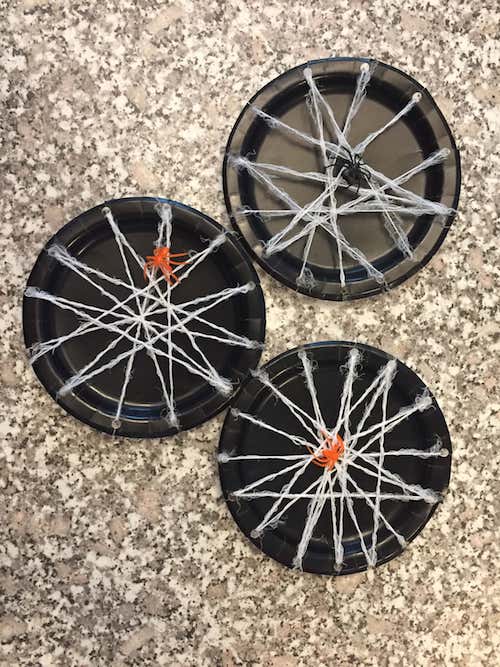
3. Wrap yarn across the plate from hole to hole. Go back through the hole without a slit and tie a second knot when finished.
4. Glue on your plastic spider ring!
2. Suncatchers
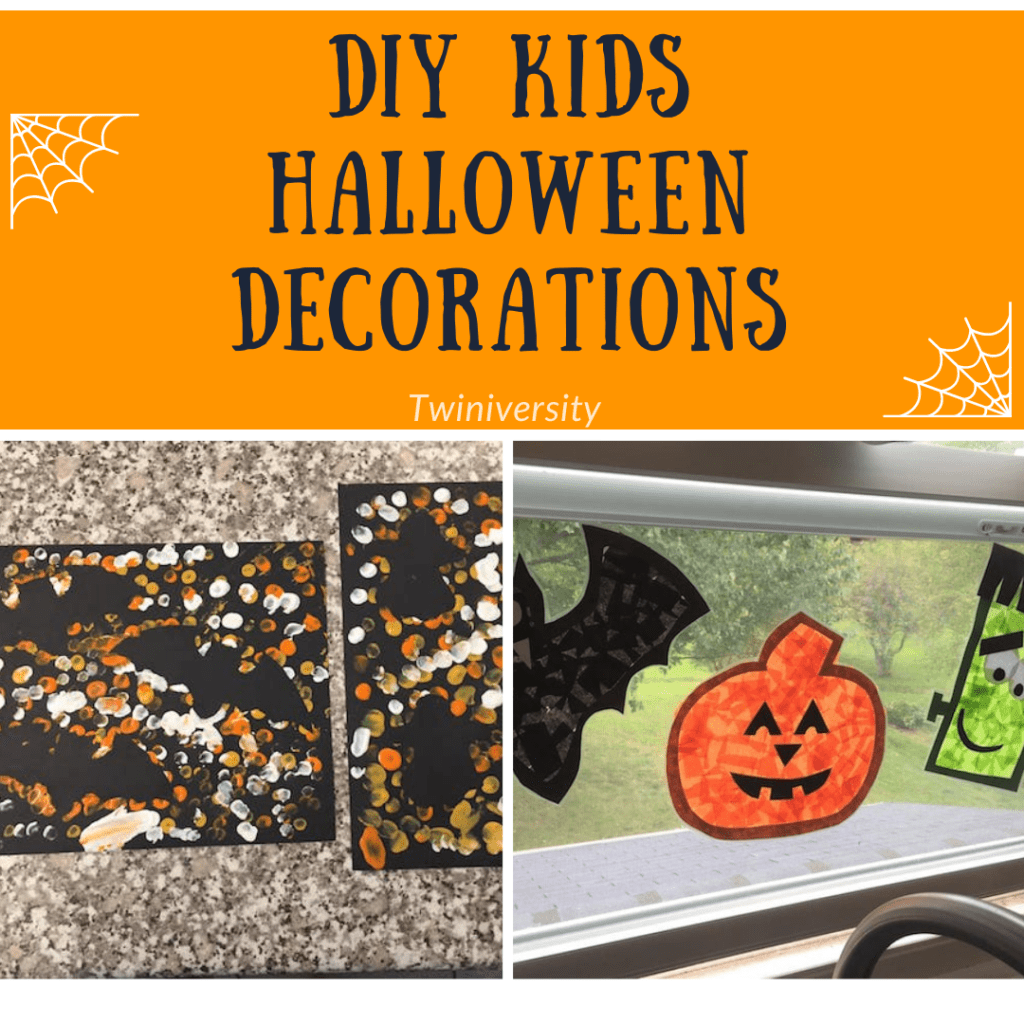
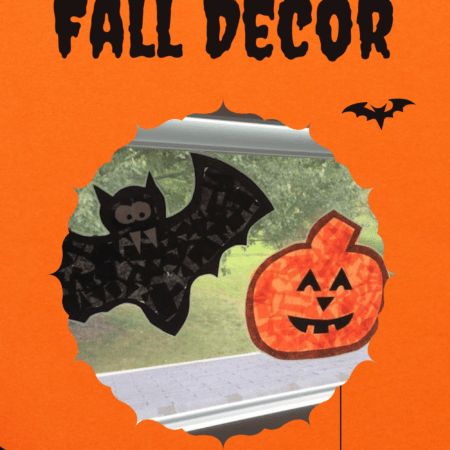
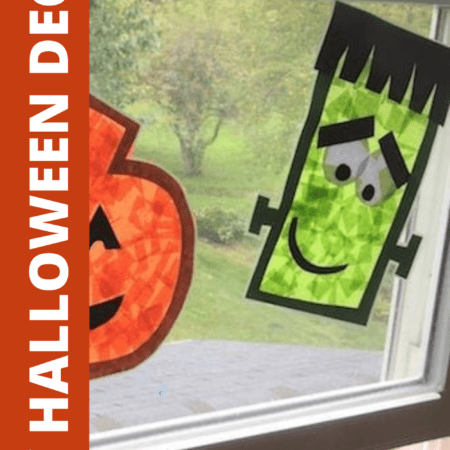
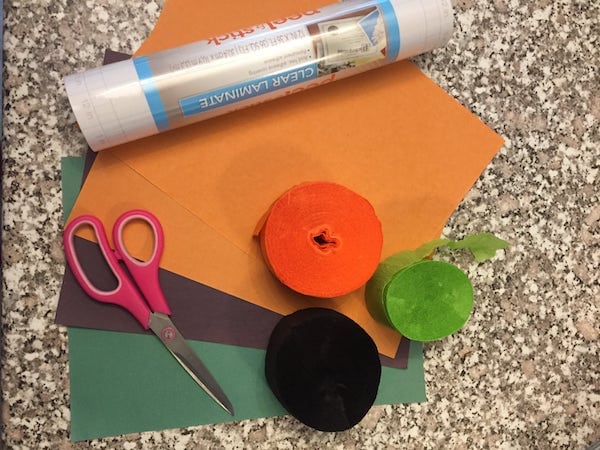
You could make any kind of festive-shaped sun catcher you want using these steps. We chose a bat, a pumpkin, and Frankenstein!
You’ll need:
- Construction paper in color of your choice
- Tissue paper (or leftover party streamers!)
- Contact paper
- Scissors
- Optional: painters tape
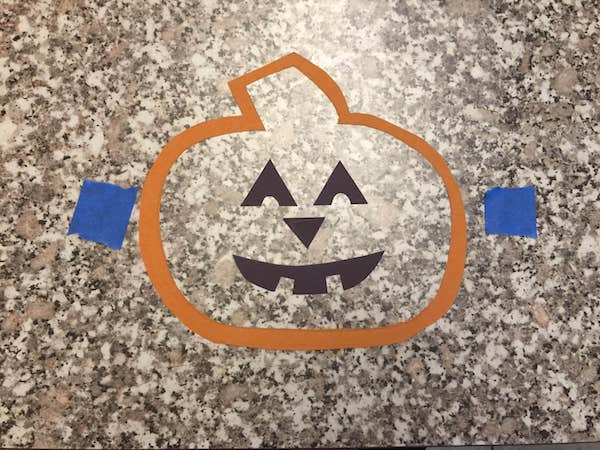
1. Draw and cut out the outline of your Halloween character. Cut the middle of your shape approximately ½ inch wide for a border for your suncatcher. Also cut out any extras: eyes for the bat, face for the pumpkin, hair/eyes/bolts/eyebrows for Frankenstein, etc.
2. Cut or rip up small squares of tissue paper (or we found that leftover party streamers work great too!)
3. Cut out a piece of contact paper large enough to cover your outline. Lay one piece sticky side up and place your outline and face pieces upside down onto the contact paper so they stick. (We taped ours down with painter’s tape because little hands kept moving it.)
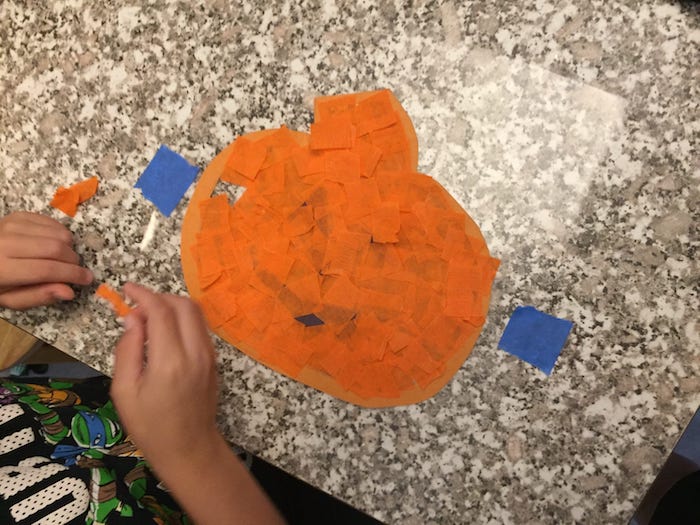
4. Arrange all the tissue paper pieces inside the outline.
5. Lay the second sheet of contact paper sticky side down and smooth out all the air bubbles.
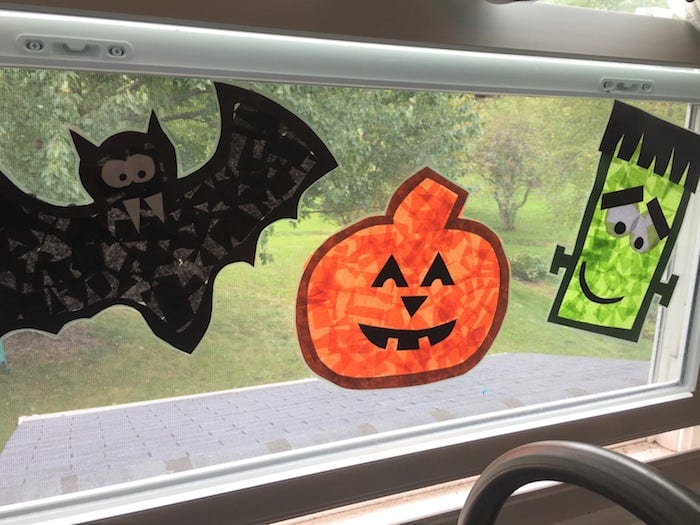
6. Cut out the sun catcher and stick it up on the window with a small piece of tape!
3. Fingerprint Halloween Silhouettes
You’ll need:
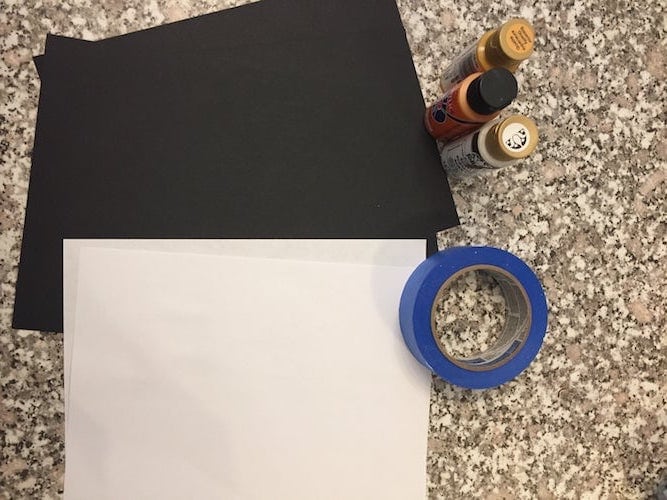
- Black construction paper
- Halloween colored paints (orange, yellow, white)
- White printer paper
- Painter’s tape
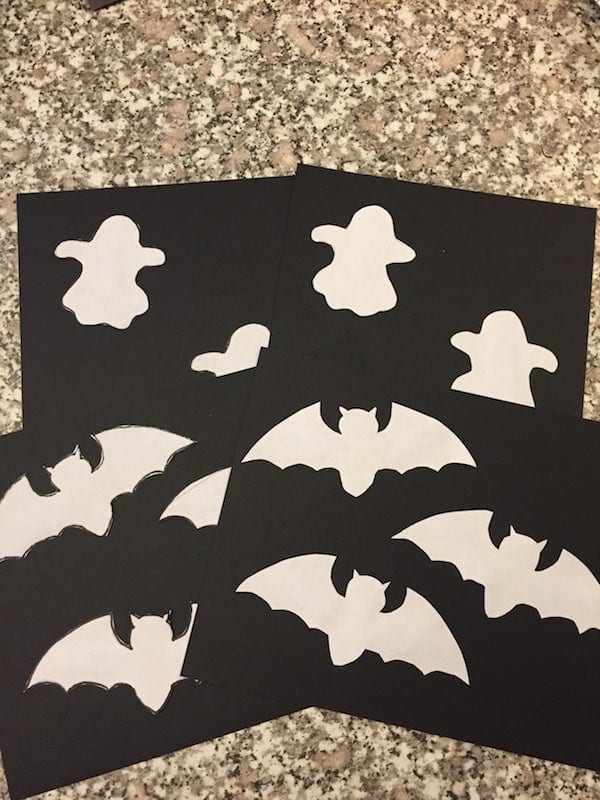
1. Draw and cut out your desired shape on printer paper. We did bats and ghosts but you could do pumpkins, black cats, witches, etc!
2. Use rolled painter’s tape on the back to secure your shape to the black paper.
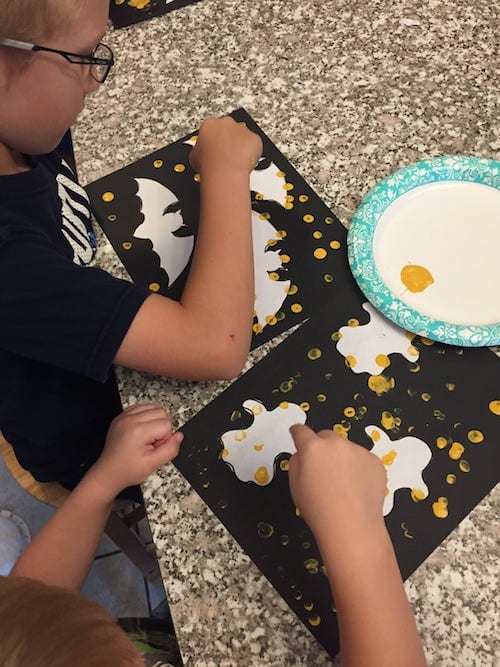
3. Dip fingers in paint and make fingerprints all over the paper making sure to do over the edges of the shapes so they stand out against the black! Try to do one color at a time and wipe fingers/thumbs off between each color paint.
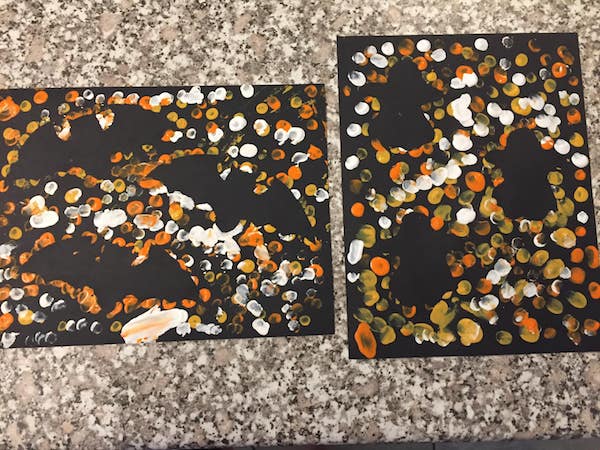
4. Let dry, then remove shapes.
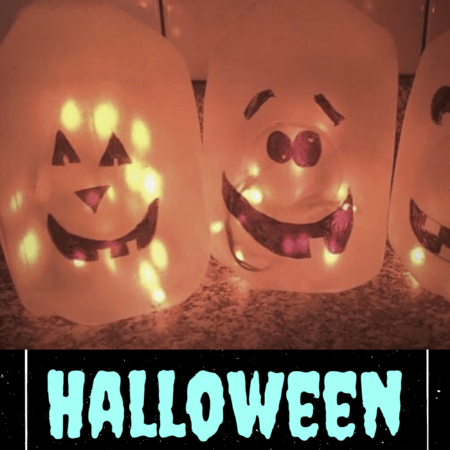
4. Milk Jug Luminaries
You’ll need:
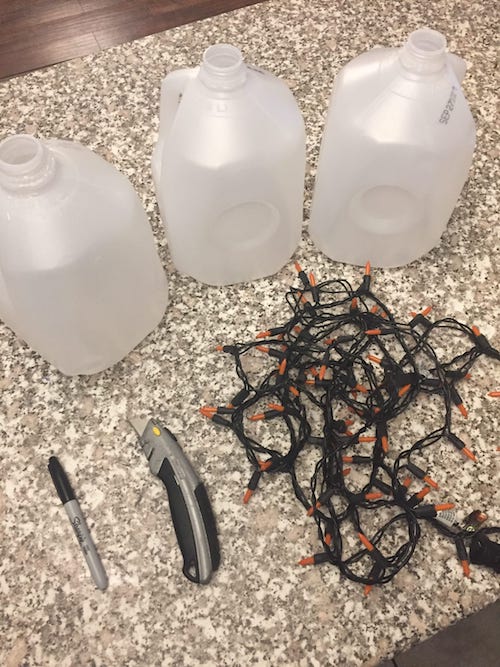
- Empty, clean milk jugs
- Black permanent marker
- Rocks or small weights
- X-ACTO knife or Stanley blade
- String of white or orange Christmas lights – white lights will make them look like ghosts, orange for pumpkins
1. Draw faces onto your milk jugs with permanent marker.
2. Adults only step: Cut a 3 x 3 flap in the back of the milk jug. You want to cut 3 of the sides and leave the fourth attached so it can close again.
3. Put a few rocks or small weights in the bottom of the milk jugs to prevent them from being knocked or blown over.
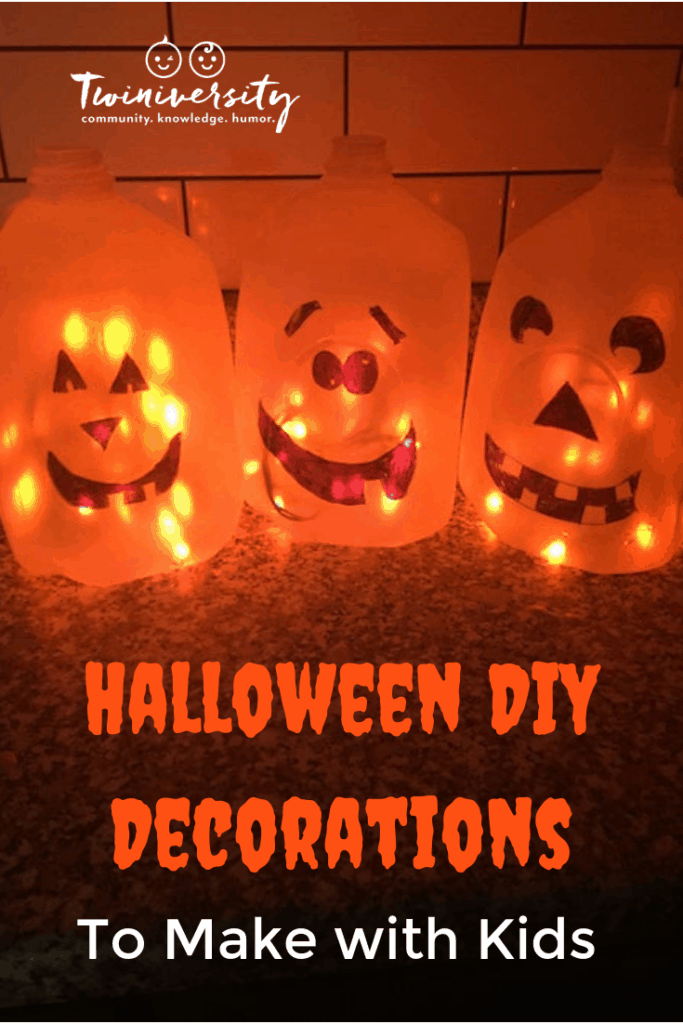
4. Insert a small string or part of a string of lights into the flap in the back. You can use one long string of lights for multiple jugs if you place them close together!
5. Put them outside on your porch or display inside and enjoy!
Make these with your twinnies and tag us on social media for a chance to be shared on our IG or FB accounts. And, of course, happy decorating!
Latest Twiniversity Articles

Amy Cook is a midwestern wife and mom to four boys ages 8, 6 and 3 year old fraternal twins. She has a degree in Biochemistry and worked in medical research for 8 years before becoming a SAHM when her twins were born. Now she runs her Etsy shop and graphic design blog, Loving Our Messy, offering free printables and design tools. Her other passions include baking, watching baseball and all things creative.

