Last updated on December 14th, 2023 at 03:01 pm
With each new season, I enjoy tackling a few crafts with my children. Not only do we have fun creating together, but they learn new things through crafts (e.g. following directions, colors, shapes, etc.). When choosing crafts to attempt with my kids, I look for simple ones where they can do the majority of the work, prep work and cleanup are minimal, and we already have the supplies.
- Old button down dress shirts make fantastic art smocks. Simply cut the sleeves and put them on backwards over your child’s clothes. If you don’t have any, visit a local thrift store and snag a few.
- Use a tray or cookie sheet with sides as a work surface to make clean up easy. Also, secure paper to the work surface with tape so it doesn’t slip.
- When using tempera paint, add a few drops of dish soap to make clean up easier.
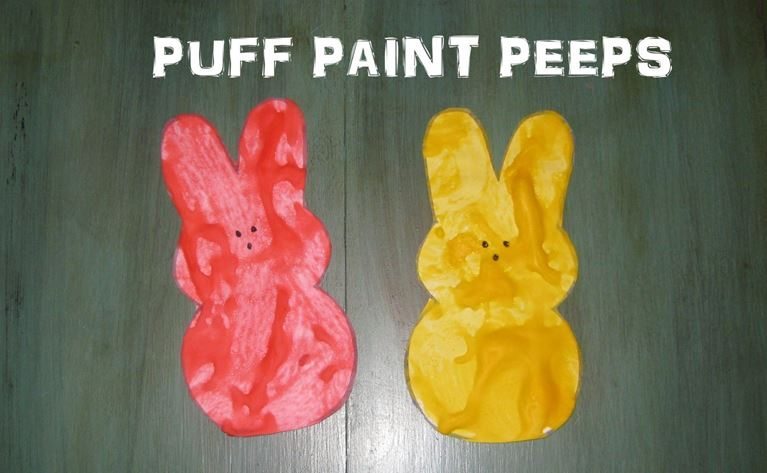
Puff Paint Peeps
You will need:
- Shaving Cream
- White Glue
- Food Coloring
- Free Peep Printable from Crafty Morning
Permanent Marker - A package (or two) of Peeps for inspiration, and maybe even an indulgent snack
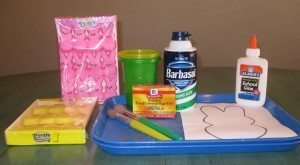
To make the puff paint, mix equal parts shaving cream and glue in a cup (I used about 1/8 a cup of each), then add a few drops of food coloring.
Encourage your child to cover the entire bunny in paint. Globs are good because they help achieve the puffed look once it dries. I promise, this one is not as messy as it seems and clean-up is surprisingly easy.
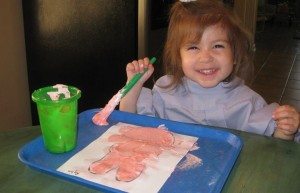
Once the paint is dry, cut the bunny out and add eyes and a mouth with a permanent marker.
Source: Crafty Morning
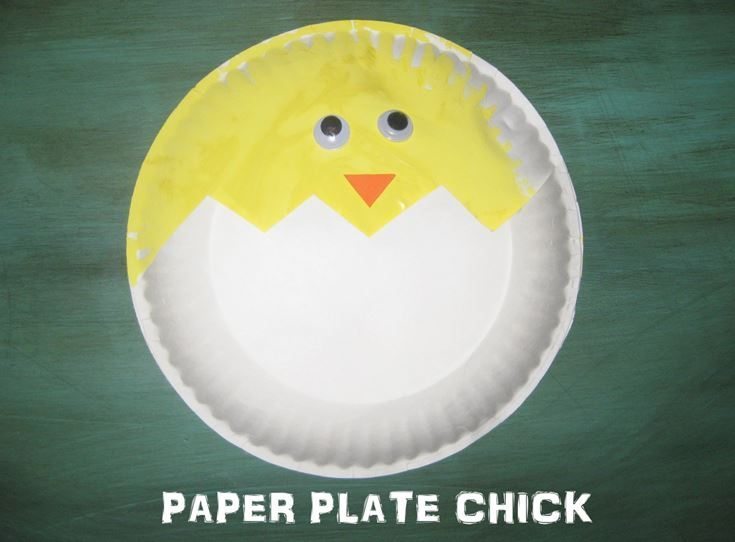
Paper Plate Chick
You will need:
- Paper plates
- Google Eyes
- White Glue
- Yellow Tempera Paint
- Orange foam or construction paper
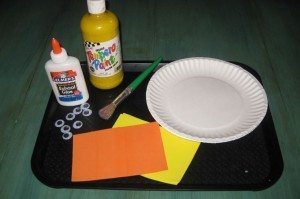
Have your child paint the bottom side of one plate all over with yellow paint. Then, take another plate and cut it in half creating a zig zag edge. Glue this plate over the yellow one so it appears that a chick is hatching. Next, cut the orange paper into a small triangle for the beak. Have your child glue eyes and a beak onto the yellow to make a face. If you have yellow feathers, you can glue a few on the top of the chick’s head and on the side for wings.
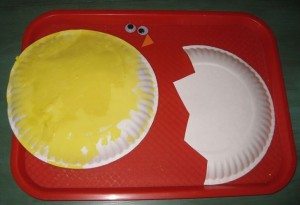
Source: Making Learning Fun
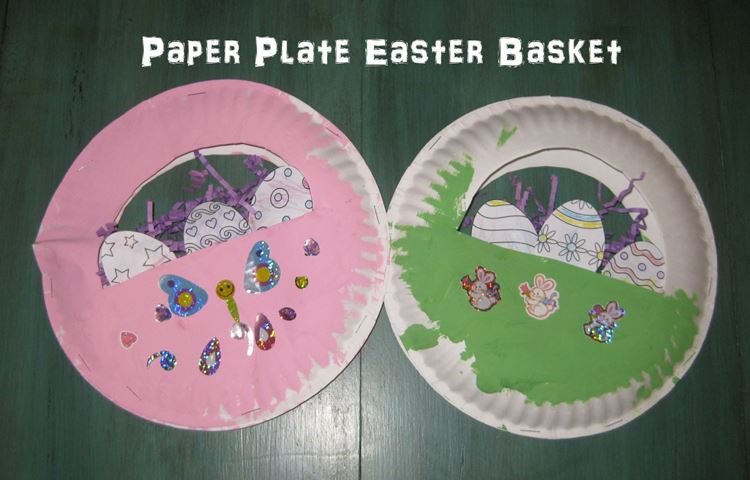
Paper Plate Easter Basket
You will need:
- Paper plates
- Tempera Paint
- Stapler
- Stickers
- Free Easter Egg Printable from First Palette (or draw your own)
- Crayons or Markers
- Clear tape
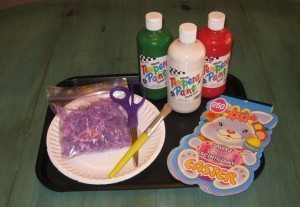
First, have your child paint the bottom of two paper plates all over. When the paint is dry, cut a semi-circle out of each plate so you are left with a handle and basket shape. Your child can decorate the front of the basket with stickers. Then, use a stapler to attach the two paper plates to form a basket. Finally, let your child color a few Easter eggs to fill the basket (While you’re at it, grab a crayon and color a few yourself; coloring is a relaxing activity for adults.) Once your child is done coloring, cut out the eggs and glue or tape them into the basket. Finally, add a little Easter grass to the basket.
Source: Crafty Morning
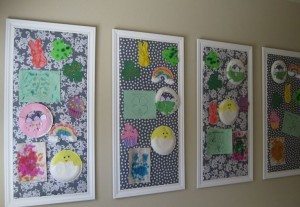
When you finish crafts with your kids, find a place where their work can be admired. After a craft project my kids are always proud and eager to tell all about their handiwork!
Related Articles
- Easter Basket Ideas for Little Kids
- 50 Uses for Plastic Easter Eggs
- Thinking Outside the Egg! Great Craft Ideas for Easter
- How To Create Fantastic Easter Baskets Without Candy


Amber Shawver and her husband, George, are the proud parents of girl-boy-girl-boy quadruplets who debuted in 2012. Amber draws from her experiences working in childcare settings and as a school based behavioral consultant to manage raising quadruplets at home. Amber continues to practice school psychology part-time in an urban school district. She chronicles life raising quadruplets at Four to Adore. You can also find her on Facebook, Pinterest, and Twitter.
